Zalman MS1000-HS2 Mid-Tower ATX Case
May 24th, 2010 | By NivedhFirst I decided to install the optical drive. You have to remove a screw to release the drive bay cover.


After that, the drive can be slid in and secured using the push and slide clip.


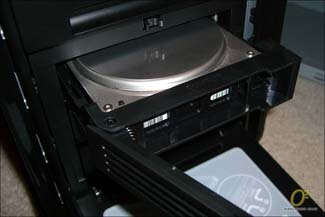
Next up, I installed the hard drive. The locking portion of the cage can be opened and the tray can be slid out.


After placing the drive in the tray, it is secured using another push and slide mechanism. The tray can then be slid back into the cage and secured.


To install the motherboard, standoffs must be placed in the appropriate holes and then the motherboard can be secured to those.


The power supply is installed using four screws.

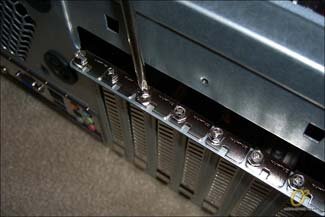
To install the video card, you have to remove the expansion slot covers and then the card can be secured.


Don’t forget to connect all the cables to finish installation.

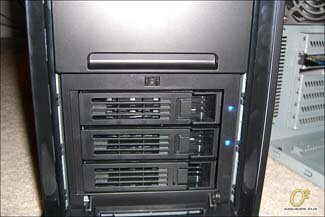
Upon powering up, blue LEDs light up to signify power on, IDE status, etc.


All in all, installation is simple.
