Spire TherMax Eclipse II
May 15th, 2010 | By ChrisDisassembling the plastic cocoon, I first pull out the assembly pieces and documents. Included, we have a Warranty Card, an eight-language Installation Manual, and a box of hardware. Hiding inside, we find an additional 120mm BlackStar fan, CPU back plate mount, a small tube of thermal grease, and the appropriate screws and adapters for Intel and AMD sockets.
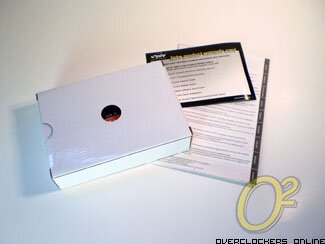
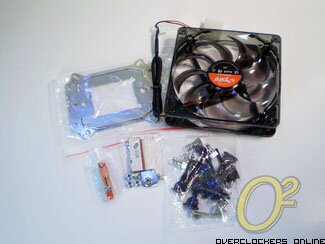
The heat sink has been uncased. First off, here is a quick profile shot of the entire unit:
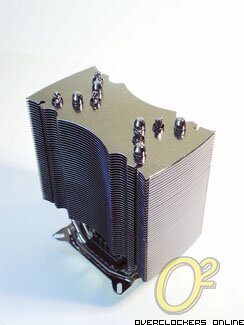
Zooming in at a different angle, we get a good look at all 46 aluminum fins. In the fins, you can see the very small dimples, and all five heat pipes in the “U” shape point to the top. Sprouting from the base itself, we also see a small fin array for additional heat dispersion.
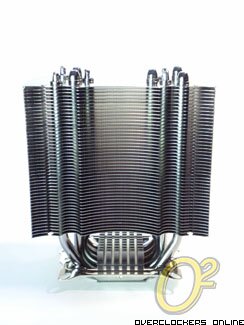
The Eclipse II is a tad wider than the average heat sink, but Spire did an excellent job compressing the size of it, considering it has five 8mm. The sides of the fins are all turned down to help direct airflow.
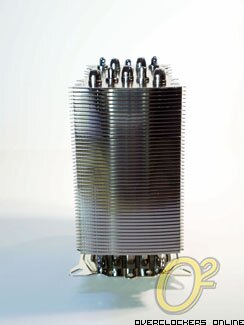
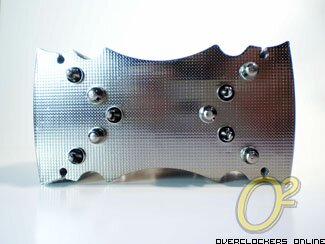
Looking at the heat sink straight at on the top is how you would typically be seeing it within the computer case. It’s hard to miss the curves and angles of the fins, the attractive grey, dimpled surface, and all ten caps on the heat pipes.
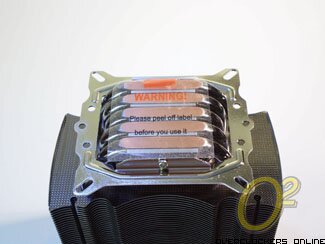
Flipping the Eclipse II right over, we get a good look at the underbelly. As you can see, the main mounting plate is already set in place; that will save one step when installing. As always, the usual protection for the base is in its place.
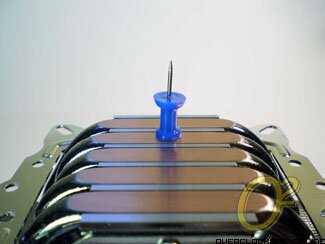
Peeling the sticker off and zooming in for a closer look, I place the blue tack on the surface to see the clarity of the reflection and purity of the surface; while the surface is clean, even, and smooth, the reflection is nowhere near to perfect. This may impede on performance, but we’ll see about that in a moment.
Read on to learn more about the installation!