QNAP TS-259 Pro Turbo NAS
Mar 1st, 2010 | By SimonQNAP has always made it easy to configure their NAS units. Once you have the hard drives installed and the NAS connected to your network, the included DVD’s QNAP Finder will locate the NAS on your network and start the configuration process. The included DVD also allows you to install NetBack Replicator and QGet.


The QNAP Finder is really the only piece of software you need to run to get the NAS going.


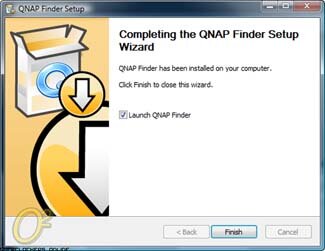
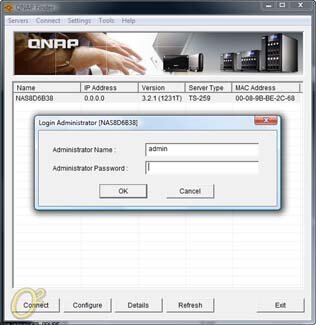
Once installed, it will search your network for the NAS device and you can press the configure button to set everything up.

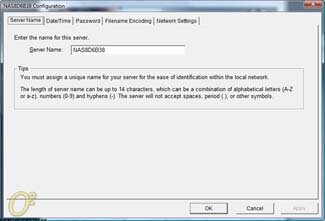
The configuration allows you to pick a server name, adjust the date/time, pick a password, filename encoding and change the network properties.


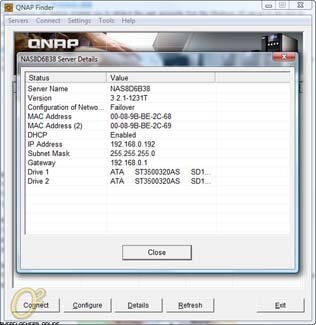
Assuming everything went according to plan, you can now access the web administration page where the true powers of the server are unleashed. In addition to basic administration, the web admin lets you manage all the web files, get customer service, read the QNAP Wiki and participate in the QNAP forums.

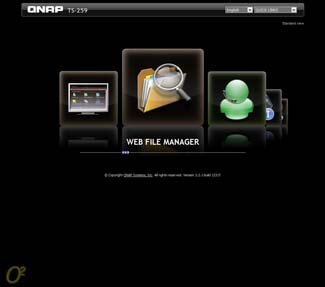

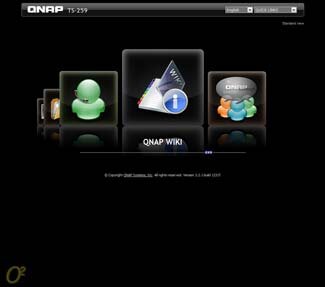
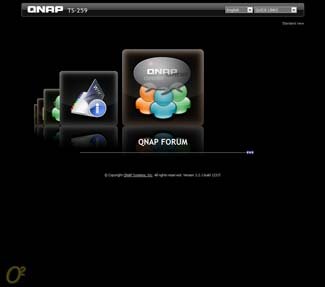
Ninety-nine percent of your time will likely be dedicated to the Web Administator page. In here, you have access to everything from RAID configuration, backup options, external devices to firmware updates.

Here’s a breakdown of everything you can do right out of the box after you install the hard drives.
- System Administration
- General Settings
- Network
- Hardware
- Security
- Notification
- Power Management
- Network Recycle Bin
- Backup System Settings
- System Logs
- Firmware Update
- Restore to Factory Default
- Disk Management
- Volume Management
- RAID Management
- HDD SMART
- Encrypted File System
- iSCSI
- Virtual Disk
- Network Services
- Microsoft Networking
- Apple Networking
- NFS Service
- FTP Service
- FTP Service
- Telnet/SSH
- SNMP Settings
- Web Server
- Network Service Discovery
- Application
- Web File Manager
- Multimedia Station
- Download Station
- Surveillance Station
- iTunes Service
- UPnP Media Server
- MySQL Server
- QPKG Plugins

