ProlimaTech Armageddon
Dec 12th, 2010 | By StevenUnfortunately, assembling the Armageddon isn’t as simple as it’s heftier older brother. Some elements remain, but the current design is overcomplicated. Follow along as the Armageddon is assembled.
Step 1) Find four hex mounting posts and place them in the appropriate slot on the LGA back plate.

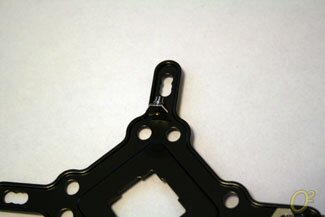
Step 2) Slide the rubber washer illustrated in the image above over the hex mounting posts to secure them to the back plate.
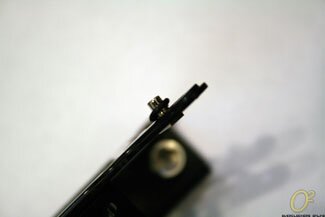
Step 3) Place the back plate along with the mounting posts on the back of your motherboard and screw the short side of the finger screws into the hex mounting posts from the front side of your motherboard.
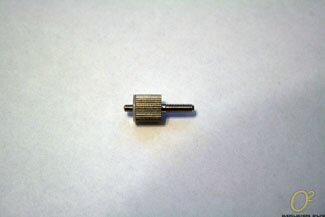

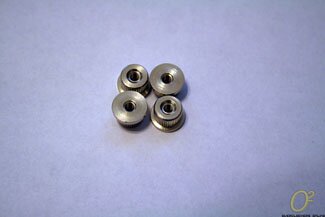
Step 4) After all four finger screws have been tightened, place the metal side brackets onto the posts and attach with the finger nuts. Keep in mind that the orientation of these brackets will determine the orientation of the Armageddon.

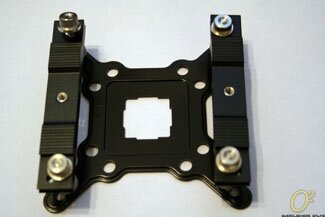
Step 5) Apply thermal compound to your processor and place the Armageddon in the middle of the mount.
Step 6) Place the mounting beam across the Armageddon, making sure that the two posts on the bottom of the beam aligns with the holes in the Armageddon.
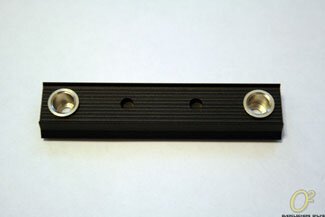
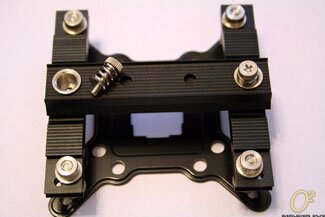
Step 7) Screw the two spring screws in place, alternating tightening to insure even pressure over your processor.
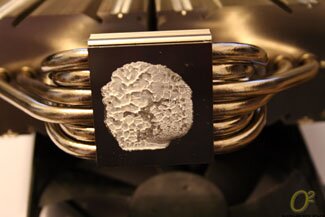
Following these steps, the mounting pressure ends up being just about perfect. The thermal compound has evenly spread over the processor underneath.
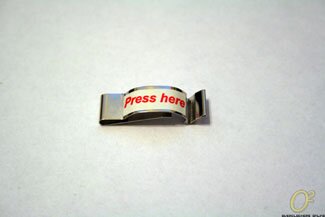
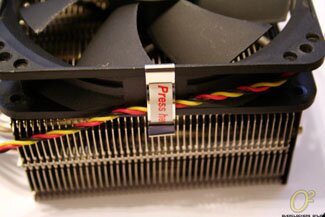
Step 8) Attach fans using the Armaclips provided. These slip over the corners of your fans and tension clip into the side of the Armageddon.

And here’s what the Armageddon looks like fully assembled. It’s a thing of beauty with two fans. The amount of space taken up by the entire assembly is significantly smaller than most high performance heat sinks.

Let’s find out how it performs!